Illustration and design
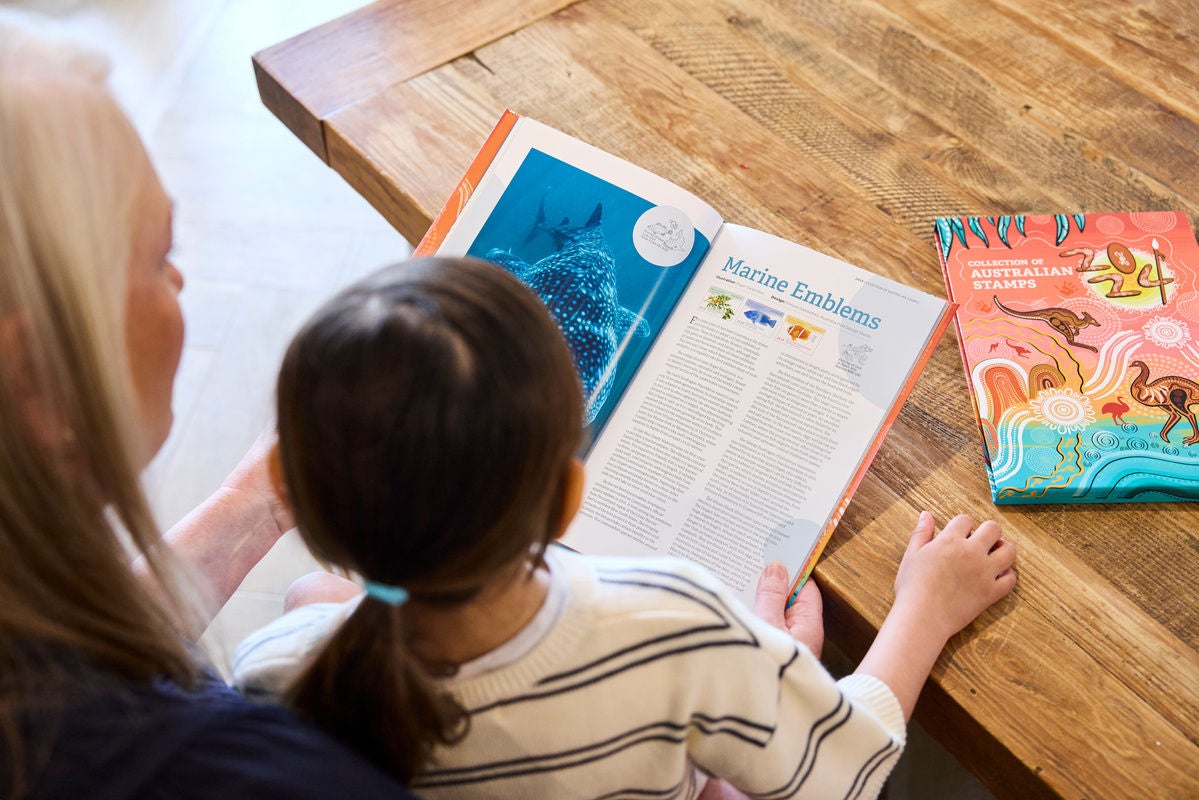
Australian stamps have a great reputation for high-quality design and production, and we commission designers and artists to produce each unique design.
We often receive suggestions for stamp design themes from the public with ideas about what would look great on a stamp. Other ideas come from anniversaries of special occasions, significant events such as the Olympics, and festivals such as Easter and Christmas.
Before a stamp can be created, the theme must be researched and the number of stamps to be printed must be decided.
Making a stamp usually takes about two years. Researchers, illustrators, photographers, designers, printers and marketers are all involved in taking a stamp through the process of research, illustration, design, printing and preparing them for sale.
Stamp designs are created in a variety of ways. Graphic designers, artists or photographers may be asked to produce new images for stamps or existing images from the collections of galleries, museums or libraries might be used.
Each finished stamp must include the word "Australia" and the price of the stamp. The stamp designer also needs to include the year of issue on the stamp, small enough not to interfere with the design, but large enough to read. After the stamps have been designed, they can then be printed.
Australia's youngest designer
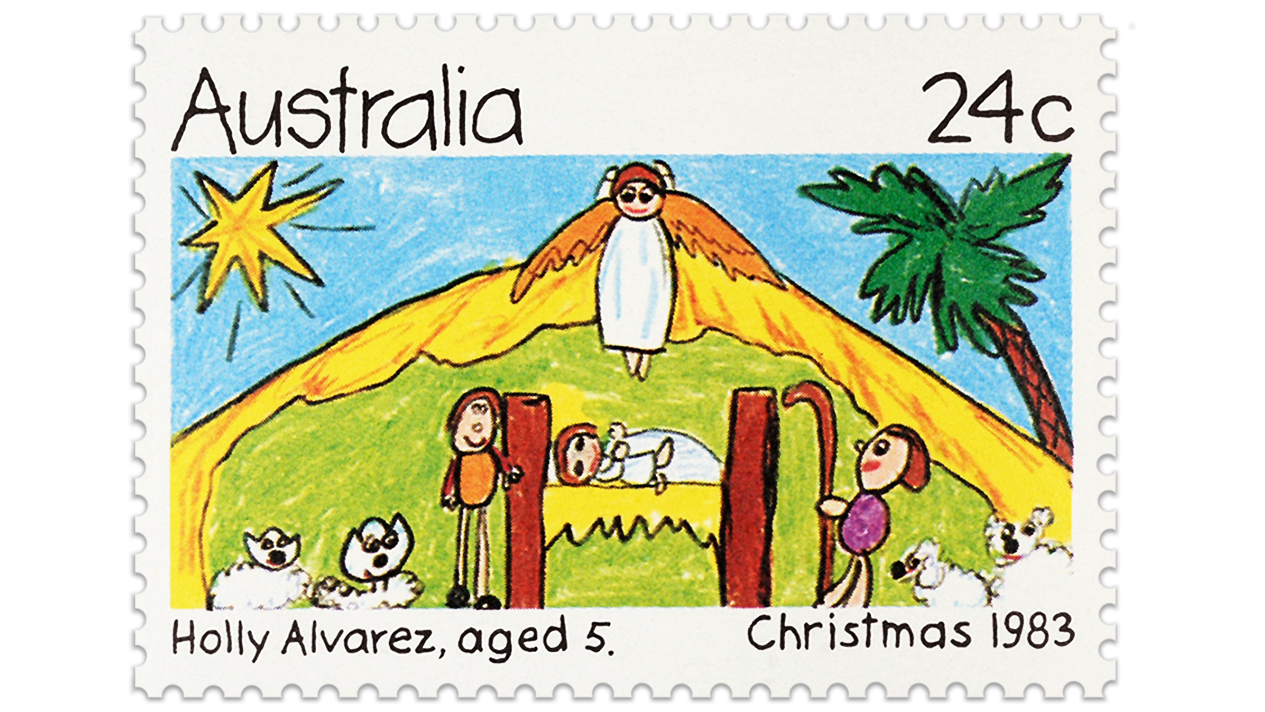
Did you know that some of our postage stamps have been designed by children? Australia's youngest stamp designer is Holly Alvarez of Perth. She was only five years old when her design for a 1983 Christmas stamp was chosen in a national competition for primary school children.
Stamp printing
Australian stamps are printed using a process called offset lithography. Offset printing is fast, and ideal for producing large quantities of printed material. Our stamps are very colourful but most of them are printed with only four coloured inks, in a system called CMYK: cyan (bright blue), magenta (pink), yellow and black.
When different percentages of each colour are combined, they produce the wide range of colours we see on our stamps. All four colours are printed on a stamp in a single operation. If you look closely at a stamp that has been printed with this four-colour process, you can see that the picture is made up of a pattern of tiny, coloured dots.
The first few sheets to be printed are called "proofs". The proofs are inspected closely for any errors or colour variations before the final printing begins and any faulty sheets are destroyed. The large sheets are then perforated and cut into smaller sheets for delivery to Australia Post retail outlets.
Part of every stamp is invisible to our eyes and can only be seen by Australia Post's sorting machines. A special phosphorescent coating that shows up under an ultraviolet light is applied to each stamp. This light is what the sorting machine uses to position the stamp for cancellation (postmarking) when a letter is sorted for delivery.
Australia Post has been printing the year of issue on stamps since 1989. It's usually very tiny, so it doesn't spoil the design. Get out a magnifying glass and see if you can find the date on your stamps.
Technique and final finish
Many old stamps were printed using an engraving process called "intaglio". Engravers were highly skilled craftspeople. They etched the design into a flat metal plate, using lots of finely spaced lines to produce different shades. Originally this was all done by hand!
Stamps can be printed on gummed paper that you must lick or dampen so they stick to an envelope but nowadays four out of five of all stamps printed are self-adhesive. These stamps stick much better, so a special paper had to be developed for Australia Post – so you can still soak stamps off envelopes for your collection.
The large sheets of stamps are perforated for easy separation. Perforation is achieved by punching small holes between the stamps using hard steel pins called "combs".
Self-adhesive stamps are made to peel off a backing sheet, but they still have the same perforated appearance. Early stamps had no perforations and had to be cut from the sheets with scissors.
This content was produced at the time of publication and will not be updated.